Best of GPN24

My picks from the Gulaschprogrammiernacht 24 in Karlsruhe.
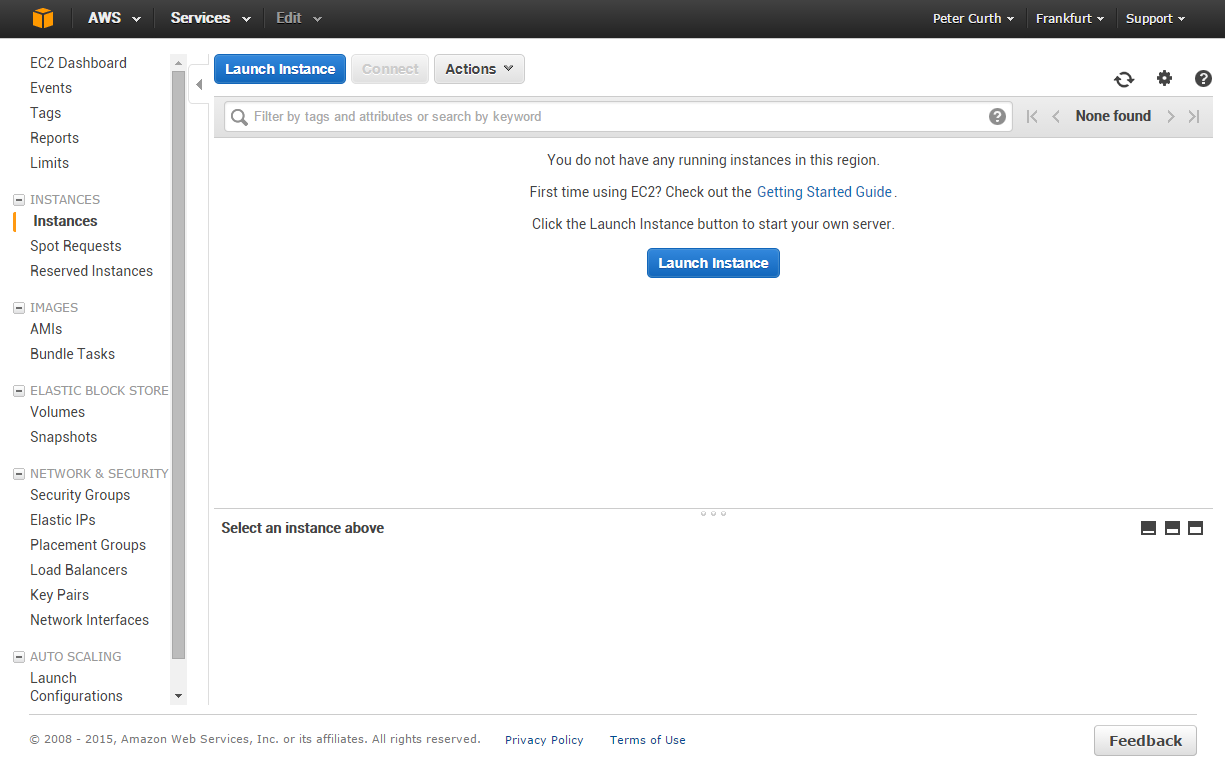
Head to aws.amazon.com and sign in. Select “US West (Oregon)” as your region in the top right — that’s where prices are best (free T1.Micro instances aren’t available in Germany at the moment). In the AWS Management Console under “EC2” you can create a new virtual machine:
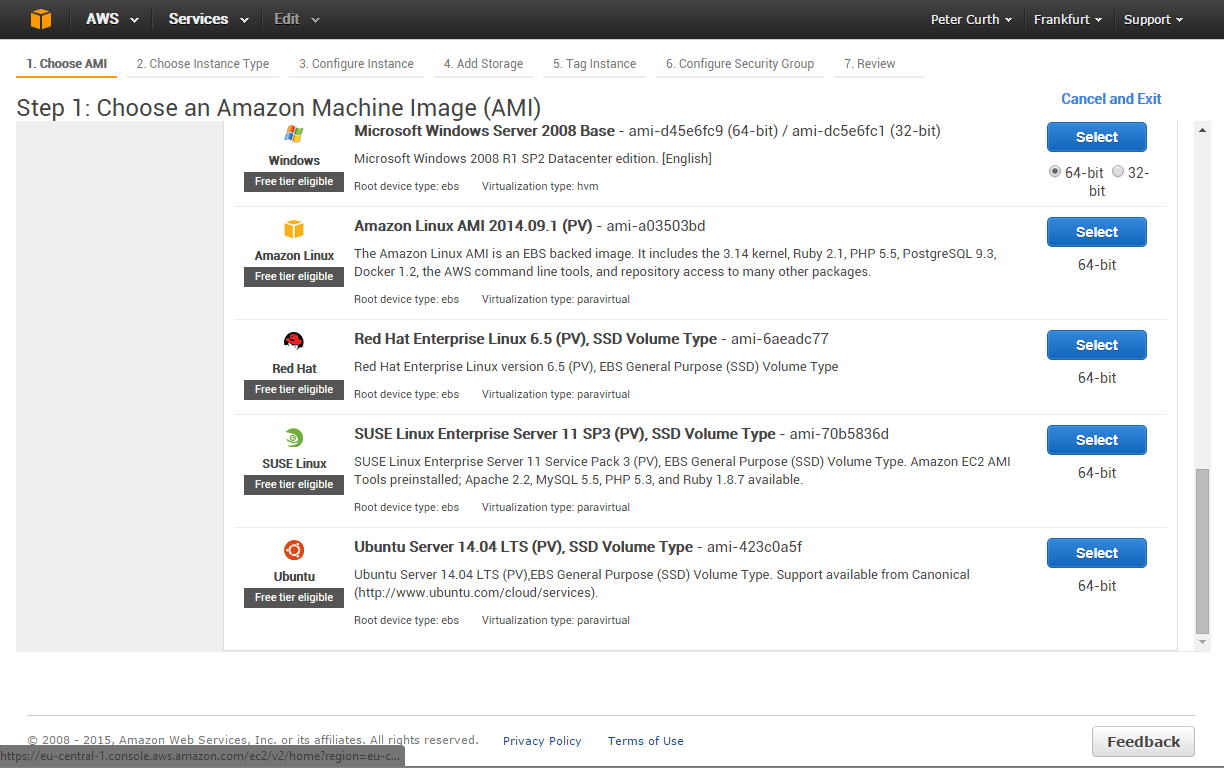
Make sure to select “paravirtual” as the virtualisation type. The Amazon Linux image works well:
Now select T1.Micro as the instance type. Be careful — other instance types can get expensive fast.
Click “Preview and Launch”. Note that Amazon will create a default Security Group (“launch-wizard”) — you’ll need to adjust this later to allow incoming traffic to your Minecraft server. While the machine is being provisioned, install an SSH client if you don’t have one. On Mac just open a terminal. On Windows I recommend MobaXterm.
To connect to your machine later, you’ll need to create a key pair. Download the .pem file in the dialog — don’t lose it, or getting back into the machine will be a pain.
Start your SSH client. For MobaXterm:
The Linux console will connect. Read any messages that appear.
First, update all software packages:
sudo yum update
I also like to install htop for a better overview of system load:
sudo yum install htop
The machine is running — on to the next step.
You’re already logged into the server. Create a directory in your home folder:
mkdir Minecraft
cd Minecraft
Now download the Minecraft server (check for the current version — it may have changed since this article was written):
wget https://s3.amazonaws.com/Minecraft.Download/versions/1.8.1/minecraft_server.1.8.1.jar
Start the server:
sudo java -Xmx512M -Xms512M -jar minecraft_server.1.8.1.jar nogui
Note the -X memory parameters — half a gigabyte is enough for a handful of players, don’t ask more of a Micro instance. Give the server some time to start up.
Once your server is running (Starting Minecraft server on *:11833), you need to open that port in the AWS Security Group for incoming traffic. Go to “Network & Security” → “Security Groups”:
Find the “launch-wizard-1” group created when the instance was set up. Right-click and “edit incoming rules”. Add a rule for your server’s port as shown:
Save, and try connecting from a Minecraft client. Select “Network” as the game option and enter your public IP address followed by a colon and the port number.
Have fun building!
For questions on any topic on this site (including use on your own website), please use the contact details below.